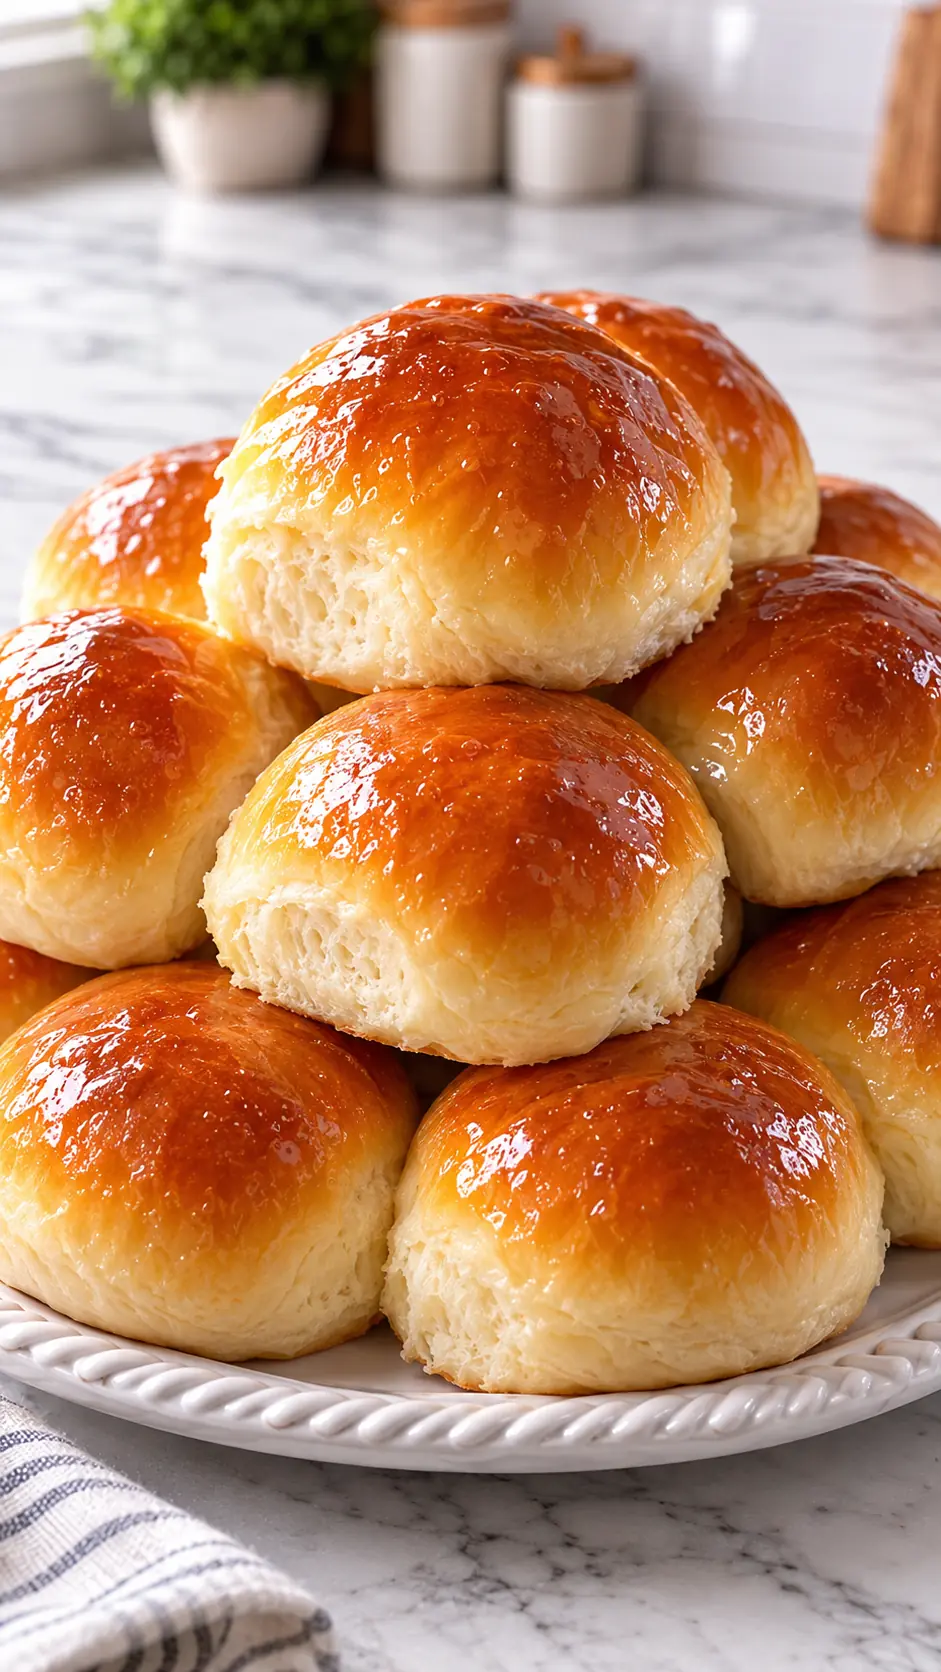
Honey Buns are soft, fluffy, and lightly sweet homemade rolls made with simple ingredients and naturally sweetened with honey. These homemade honey buns combine warm milk, real honey, egg, flour, and yeast to create tender sweet bread rolls with a delicate golden exterior and a soft, pillowy center that makes them perfect for breakfast, brunch, or an afternoon treat.
Whether you are looking for an easy homemade bread recipe, something special to serve with coffee, or a simple baked treat for the family, these soft honey buns are a wonderful choice. The dough requires only a short kneading process and a couple of rising periods, making this honey bun recipe easy to prepare even if you are new to working with yeast.
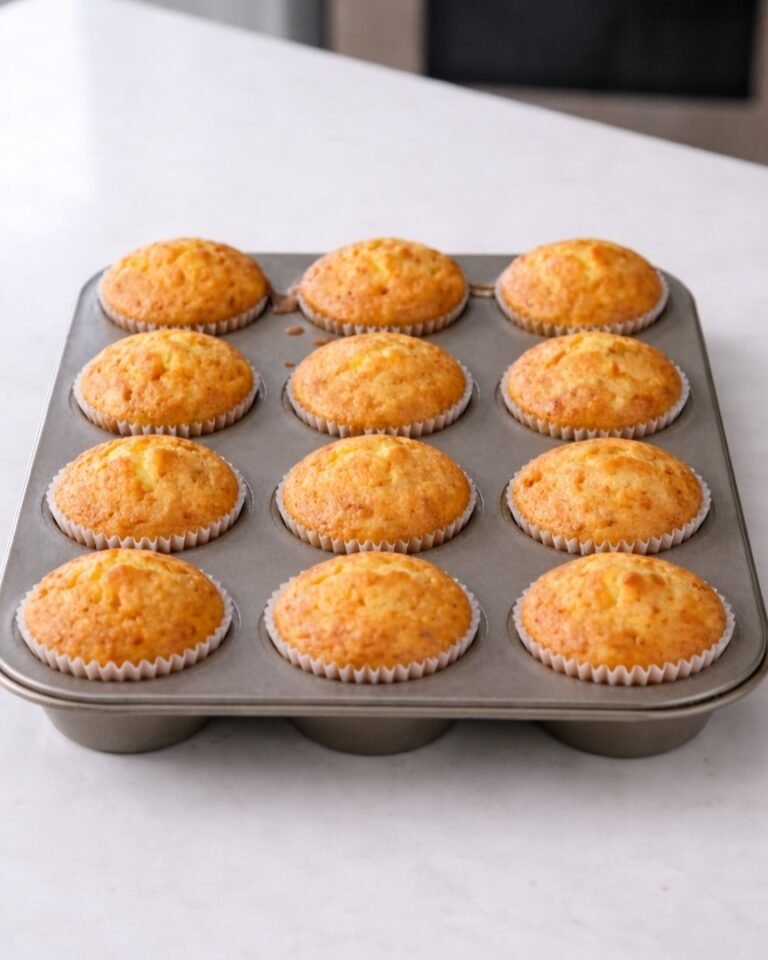
The finished buns are lightly golden on the outside while remaining soft and tender inside. Their subtle honey flavor makes them delicious on their own, but they can also be served warm with butter, additional honey, or your favorite spread for an especially comforting homemade breakfast or snack.
Why You’ll Love These Honey Buns
One of the best things about these Honey Buns is their soft and fluffy texture combined with the gentle sweetness of real honey. The warm milk helps create a tender dough, while the egg adds richness and structure without making the buns heavy. The result is a simple homemade bread with a delicate honey flavor that works beautifully for breakfast, brunch, or everyday snacking.
Furthermore, this Honey Buns recipe uses only a handful of everyday ingredients and does not require any complicated shaping technique. After the dough rises, it is simply divided into portions and shaped into individual buns before receiving a short second rise and going into the oven. This makes these fluffy yeast rolls approachable, reliable, and perfect for fresh homemade baking.
Ingredients for Honey Buns
- 2 cups all-purpose flour
- 3/4 cup warm whole milk
- 2 tablespoons honey
- 1 large egg
- 1 teaspoon instant dry yeast
- 1/4 teaspoon salt
Step by Step Directions for Honey Buns
Begin by preparing the dough for your Honey Buns. Add the 2 cups of all-purpose flour to a large mixing bowl along with the instant dry yeast and 1/4 teaspoon of salt. Stir the dry ingredients together briefly so the yeast and salt are evenly distributed throughout the flour.
Adding the dry ingredients first makes it easier to incorporate the liquids gradually and helps create a consistent dough. Make sure the yeast is fresh and active so the homemade buns have enough strength to rise properly during the fermentation process.
Next, add the 3/4 cup of warm whole milk, 2 tablespoons of honey, and one large egg to the flour mixture. Use a wooden spoon, spatula, or your hands to mix the ingredients together until they begin forming a soft dough.
The milk should be comfortably warm rather than hot. Excessively hot milk can interfere with the yeast, while milk that is too cold may slow the rising process considerably. The honey provides natural sweetness while complementing the flavor of the yeast and warm milk.
Once the dough has come together, transfer it to a lightly floured work surface if necessary. Knead the dough for approximately 5–8 minutes until it becomes soft, smooth, and elastic.
During kneading, the flour develops gluten, which gives the dough enough structure to hold the gases produced by the yeast. The finished dough should feel soft and supple rather than stiff or excessively sticky, which is important for achieving fluffy honey bread.
If the dough feels slightly sticky at first, resist the temptation to add a large amount of additional flour immediately. Continue kneading for a few minutes because the dough will often become smoother and easier to handle as the gluten develops.
Once the dough is smooth, place it into a lightly greased bowl and cover it with a clean kitchen towel or plastic wrap. Place the bowl in a warm, draft-free area and allow the dough to rise for approximately 1 hour, or until it has doubled in size.
The exact rising time can vary depending on the temperature of your kitchen. Rather than relying only on the clock, look for a clear increase in volume. Properly risen dough should appear soft, airy, and noticeably larger than when it was first mixed.
When the dough has doubled in size, gently press it down to release some of the excess air. Transfer it to a lightly floured surface and divide it into equal portions.
Shape each portion into a smooth bun by gently pulling the edges of the dough underneath and rolling it lightly between your hands. Try to create a smooth surface on each bun so they develop an attractive shape as they bake.
Arrange the shaped Honey Buns on a baking pan lined with parchment paper, leaving a little space between each piece. The buns will expand during the second rise and again while baking, so avoid placing them too close together.
Cover the baking pan loosely with a clean kitchen towel and allow the buns to rest for another 20–30 minutes. This second rise gives the dough additional time to become light and airy before baking.
While the buns are resting, preheat your oven to 350°F (180°C). Allow the oven to reach the full temperature before placing the homemade rolls inside so they begin baking immediately and rise evenly.
After the second rise, place the baking pan in the preheated oven and bake the Honey Buns for approximately 18 minutes. They should become lightly golden on the surface while remaining soft and tender inside.
Keep an eye on the buns during the final few minutes because oven temperatures can vary. You are looking for a delicate golden color rather than a deeply browned crust, as these sweet bread rolls are meant to remain soft and light.
Remove the buns from the oven once they are lightly golden and fully baked. Allow them to cool in the pan for several minutes before transferring them to a wire rack or serving them warm.
The buns are especially delicious while still slightly warm because their centers remain incredibly soft and tender. Serve them on their own or with a little butter, honey, or your favorite spread.
Substitutions for Honey Buns
You can use another type of milk if whole milk is not available, although whole milk provides the richest and most tender result. If you prefer a slightly sweeter Honey Buns recipe, increase the honey by a small amount, while maple syrup can be used as an alternative sweetener. All-purpose flour works well for these homemade buns, but bread flour can also be used if you prefer a slightly chewier texture.
Pro Baking Notes and Tips for Honey Buns
Make sure the milk is warm rather than hot before adding it to the dough so the yeast remains active. Knead the dough thoroughly for the full 5–8 minutes to develop enough gluten for soft, well-structured buns. Give the dough enough time to double during the first rise rather than relying strictly on the stated one-hour period, as cooler kitchens may require additional time. During the second rise, avoid letting the Honey Buns become excessively puffy because over-proofed dough can lose structure during baking.
Exciting Flavor Variations for Honey Buns
For a richer honey flavor, brush the warm Honey Buns with a thin layer of honey immediately after they come out of the oven. You can also add a small amount of cinnamon to the dough for a warm, aromatic variation that pairs beautifully with the honey. For a more indulgent version, mix a handful of raisins, chopped walnuts, or finely chopped pecans into the dough before shaping the homemade sweet rolls.
Creative Serving Suggestions for Honey Buns
Serve these Honey Buns warm for breakfast alongside butter, cream cheese, or additional honey for spreading. They are also delicious with coffee, tea, or a glass of cold milk and make a simple homemade snack for the entire family. For a special presentation, arrange the warm honey bread rolls in a basket lined with a clean cloth and place a small bowl of honey in the center for dipping or drizzling.
Keeping Your Honey Buns Fresh
Store completely cooled Honey Buns in an airtight container at room temperature for up to 3 days. To restore their soft texture, warm individual buns gently in the microwave for a few seconds or place them in a low-temperature oven until heated through. For longer storage, wrap the buns individually or place them in a freezer-safe bag and freeze them for up to 3 months. Allow frozen buns to thaw before gently reheating them for the best texture.
I encourage you to try these Honey Buns whenever you want a simple homemade bread that is soft, fluffy, and gently sweet. With warm milk, real honey, and a tender yeast dough, this easy Honey Buns recipe creates beautiful golden rolls that are perfect for breakfast, brunch, snacking, sharing, or enjoying fresh from the oven.